The other night, while reading my favourite forums on Ravelry, I saw a picture of a wheel in pieces. This reminded me ever since I got my new (secondhand) wheel, I’ve been meaning to give it a makeover. It’s an ashford traditional, and all the parts are different colours, the double treadle kit was bought separately, and is stained a different colour, and the lace flyer kit was untreated. The next day I saw some paint stripper in a supermarket (strange, cos the last time I was looking for it, I couldn’t find any, which is why the project was shelved).
I also bought this, mostly because I found the name amusing:

(yes, I’m easily amused)
Armed with my bag of rags, I laid out the stuff I needed…paint stripper, wood stain, white spirit, teak oil, sandpaper and other useful things like gloves, paintbrushes, screwdrivers and the like.
The first job was to stain the lace flyer, as it was already untreated, so I didn’t have to mess around with the paint stripper. I took the flyer/mother of all to pieces, and sanded it down. I then gave it a rub over with white spirit. Pre treatment, it looked like this:
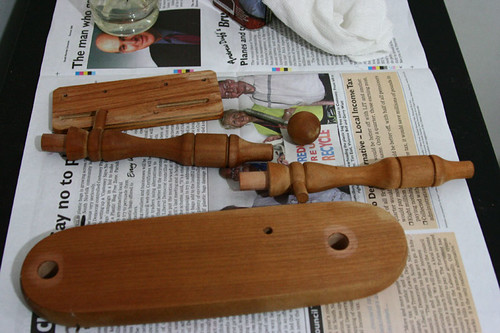
Then came time for the wood stain, the colour I chose was called ‘indian rosewood’. I followed the instructions and applied it with a cloth (yay for the bag of rags!). Here’s the maidens, one stained, one unstained.
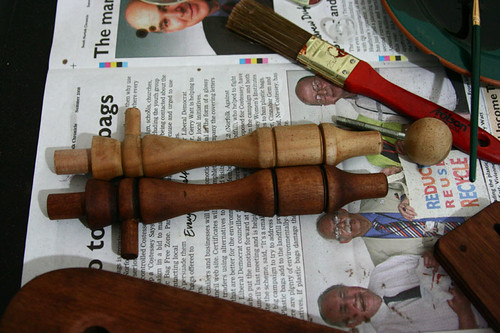
and here’s the whole lot in it’s stained glory:
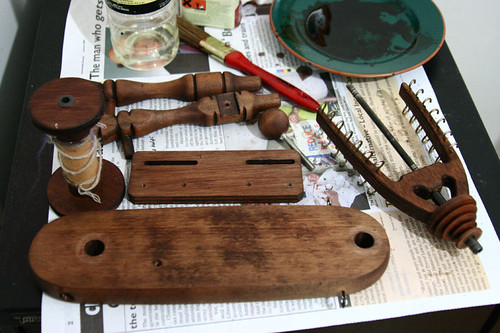
It’s looking much better already. While the stain was drying, I turned my attention to the wheel:
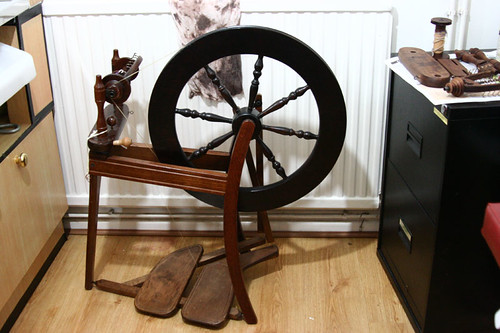
You can see in the pic that all the parts are differently coloured. I don’t mind that too much, as I believe they are made from different woods, so even with staining they won’t look identical. What you can’t see is that there’s paint spots all over it…so the job really needed doing. I considered just removing the wheel and leaving the rest intact and using paint stripper on it like that…I figured the parts you can’t see don’t matter. But I decided to stop being lazy, if I’m going to do this, i should do it properly. So I dismantled it completely.
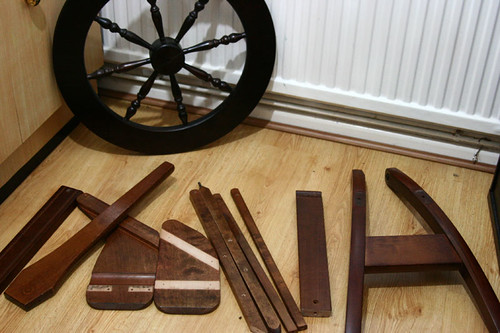
As you can see, the person who stained the DT kit was lazy, so there’s big areas of untreated wood where they didn’t bother taking it apart before finishing.
The next step was to try the paint stripper to remove the varnish. I did this on a couple of bits, but then realised it was late and time for bed, so left the rest for another day. I shall take more pics and explain what I did when I next work on it.